Got a sink in your house that drains water slower than usual? Did you accidentally drop precious jewelry in your sink?
Hair, food, soap scum, grease, oil, and other debris can clog and damage your sink trap.
A sink trap, also known as “P-trap,” is the curved length of the pipe located below a drain. Its purpose is to retain enough water and prevent any sewer odor from rising into your home’s drainage.
The curved shape of the P-trap also helps in catching small objects. The continuous build-up of debris in the bend causes the drain water slowly.
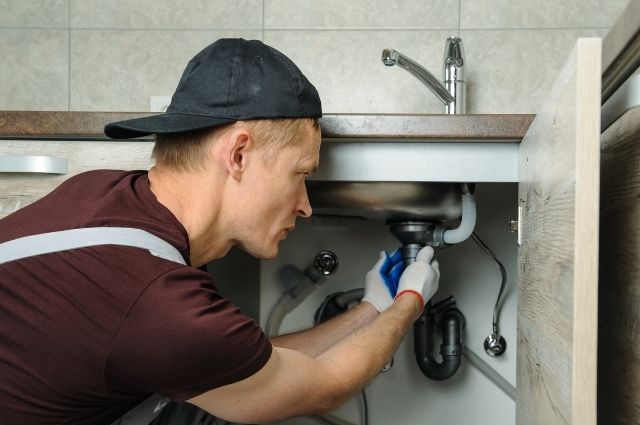
Cleaning the sink drain can be bothersome for some. It’s best to leave the dirty job in the hands of an expert.
Guide On How To Clean Sink Trap
Clogged sinks are among the common plumbing problems in every household and business. Here are some tips to quickly fix and clean it:
- Run some hot water down the drain to clear blockages
- Try using a plunger in a slow and quick push down, pull up method
- Remove the trap
How To Remove And Clean A Sink Trap

1. Prepare your tools
The tools you will need to remove the trap includes a bucket, a wrench/channel lock to loosen the slip joint nuts, an old toothbrush, masking or duct tape, and towels.
2. Locate the sink trap and place a bucket underneath it
Look under the sink and find a J or P-like curve. The P-trap is located in between the tailpipe (the one directly connected to your sink) and the waste pipe (the one connected to the wall).
You can place a regular bucket or a dishpan underneath the trap to catch any water and dirt that comes out while you remove the sink trap.
3. Unscrew the slip joint nuts
Use a wrench or channel locks to loosen the slip joint nuts on each side of the trap. If you’re unfamiliar with plumbing work, you can use your hands to unscrew it to give you more grip.
You can also use masking or duct tape on the inside of pliers to prevent scratches.
The process will get messier, so make sure your bucket is ready!
4. Remove the sink trap
Take note or take a photo of the trap before removing it to reassemble it properly later. Locate the o-rings on each side of the P-trap and place them somewhere safe.
Clog the waste pipe in your trap using a cloth or a towel. It will prevent sewer gases from entering your home.
5. Rinse the sink trap
For a cleaner sink trap, make sure to rinse and remove all the loose dirt thoroughly.
Use some dishwashing detergent and a bottle brush or toothbrush to scrub and remove dirt from the trap and the end of the tailpipe.
6. Reassemble the trap
To reassemble, you need to remember the order of installation of each part.
First, place the slip joint nuts onto the tail and waste pipes.
Next, slip the o-rings back.
Lastly, place the sink trap back between the tail and waste pipes.
7. Tighten the slip joint nuts
You can hand-tight the slip joint nuts, then use a wrench to tighten a quarter turn more. Avoid cross-threading and over-tightening the nuts to prevent cracks and breakages on your pipes.
Turn on the water and test if the drain is moving freely and if the traps are leak-free.
We Have Stellar Services For Your Plumbing Troubles
Clogged sink? Broken pipes? Stellar Plumbing has all know-how and equipment to ensure you a safe, dirt-free, clog-free, and leak-free drainage system.
You can count on us at any time of the day as our team of plumbing professionals are ready to serve you 24/7!